Showing posts with label friday parties. Show all posts

Friday, September 16, 2011

It's Friday, Let's Party! Star Wars Lego Party!!

Happy Friday Auntie Lolo Crafts readers! I'm Mary Kathryn from Mathews Family Happenings and I'm back today to share my son's Star Wars lego party with you! Take a look:

just wanted to take a moment to show you how incredibly simple it was to throw a
 whang-bang-awesome-everyone-had-a-great-time-and-it-didn't-cost-a-fortune-like-on-that-TLC-reality-show kid party.
and also...
deets = details
(just in case)
Here's the run-down on what we made:
(we being the hubs, Aunt C, and myself)
1) invites-
*found these on Tip Junkie's site, dowloaded to Word, changed the name and date,
and printed on white cardstock.
total cost= 0
2) Death Star pinata-
*it had been quite a few years since I'd paper-mached anything, so I googled the recipe.
I went with 1/2 cup flour + 2 cups cold water because that seemed to be the most popular.
That worked great for us, but I did 2 complete layers since I knew little boys would probably whack through one layer fairly quickly.
oh what a good call that was
to make this we used one of those giant 'bopping' balloons with the string attached (bought in a pack of 8 at Target for around a buck fifty), a sack of flour from Wal-mart  (1.64), and water (from our faucet). The paint came from our stash, so that part was a freebie.
total cost = 3.14 (+ the cost of whatever goes inside)
once again, I have to give props to the hubs for his detail work on the paint job
3) light sabers-
as you can see, they were a huge hit.
(pun intended)
and here's the hubs, slaving away.
(actually, I think he really enjoyed it)
*we bought the swim noodles at Target (1.99 a piece), cut them into thirds, and made handles out of silver duct tape and black electrical tape.
He even went a step further and made different patterns on each one.
crafty, eh?
total cost for sabers = 5.97 (which made 9)
4) lego Star Wars character sign thingys-
since O specifically asked for a Star Wars LEGO party, I wanted another way to incorporate the legos (other than just dumping a ton of them into glass containers as decor)
*I took his lego Star Wars book, copied several pages onto white cardstock, cut out the characters, and hot-glued onto some wooden dowels to stick into the food/lego containers
total cost = 97 cents (wooden dowels, which came as a pack of 20)
5) party signs-
I know these totally weren't necessary, but I wanted them- mmkay?
*I found this super-think foam/posterboard at the dollar tree which I cut into thirds,
spray-painted black, and attached letters I'd cut out with my cricut
total cost for the signs = one buckaroo
(already had the black paint, cardstock, and glue stick I used to attach the letters)
6) printables in frames-
*I made this printable myself in Microsoft Word and stuck into the frame that was already there (totally free project)
and I'd downloaded this logo a few months ago for another project O had to make for school
(another totally free project)
for the rest of the mantel, (after removing the Valentine decor) I added an 'O' for Oliver (already had that in my stash), one of the hubs Star Wars legos, my canvas people canvas of my 3 kiddos, and the Happy Birthday banner I made last year.
(all free free free)
7) treat bag tags-
*agian, I used the same Star Wars logo I found after googling for images online, created the tags in Microsoft Word, and added text.
easy-peezy lemon squeezy
8) cake + cake pops-
all of the baked goodies at the party (including a yummy bacon + cheese quiche) were made by my fabulous Aunt Cindy
she even made these awesome styrofoam legos to stick the cake pops in.
Do you know about cake pops?
I've seen them all over blogland-
I asked Aunt C if she could make them, she found this book-
and whipped them up, just like that
here's Aunt C and MM
she also purchased the food-coloring pens that the kids (and a few grownups) used to decorate their cake pops.
Here's some of my mom's handywork-
All in all, I think the hours spent on making + planning all of the aspects of a party like this at home definitely = one very happy little brandspankin new 6-year old.
So- that's how we like to roll around here at the Mathews.
Maybe you saw something you could use/adapt for a party you'll be throwing in the future?

Friday, September 9, 2011

Ice Cream, You Scream!


Hello Auntie Lolo Readers!  It's me--Lindsay and I'm back to show you another birthday party!  I did this Ice-cream party for my daughter who turned 4 this summer.  Do you see that adorable ice-cream cone hat?  I wish I could take the credit for it, I actually got the idea here, which was my inspiration for the whole party! I did the same invitations and followed along with their ideas as well.  (Love that website!)

So, the little girl parties are the funnest to decorate for me, because I get to use anything frilly or colorful :)  I've had these tissue poms for a while (they're actually from my sister's wedding!) and this was probably the 5th time I've used them--the birthday banner I made out of cupcake liners.  "Auntie Lolo" actually cut out the banners and letters for me on her cricut and then I just decorated with glitter.  I hung the whole thing on some baker's twine (I am so obsessed with baker's twine--and I have no idea why!  It's just string!!!)

See that cute polka dot circle garland?  I actually found those on pottery barn clearance for $6--can you believe it?!?  Such a lucky find!


For party favors, I found these cute ice cream cups at a baking supply store in town and just filled them with some of Kennedy's favorite candies.  Then wrapped them in some more...you guessed it...twine :)


So...I was going to try to decorate the cake like they did on the One Charming Party website that I told you about earlier...but I was a little afraid of ruining the whole thing.  You see, I have these grand and glorious visions and when it comes to decorating cakes, they almost never come to pass.  I was happy with drippy chocolate, and so I left it at that :)


 Want to know another thing I am obsessed with?  Cake banners.  So cute!  Just paper scraps, stickers and ribbon.  I attached them to wooden skewers.


And my mom made these ice-cream cone chocolate suckers for me.  Nice, huh?  They turned out really cute and the girls were thrilled to get to take one home with them!


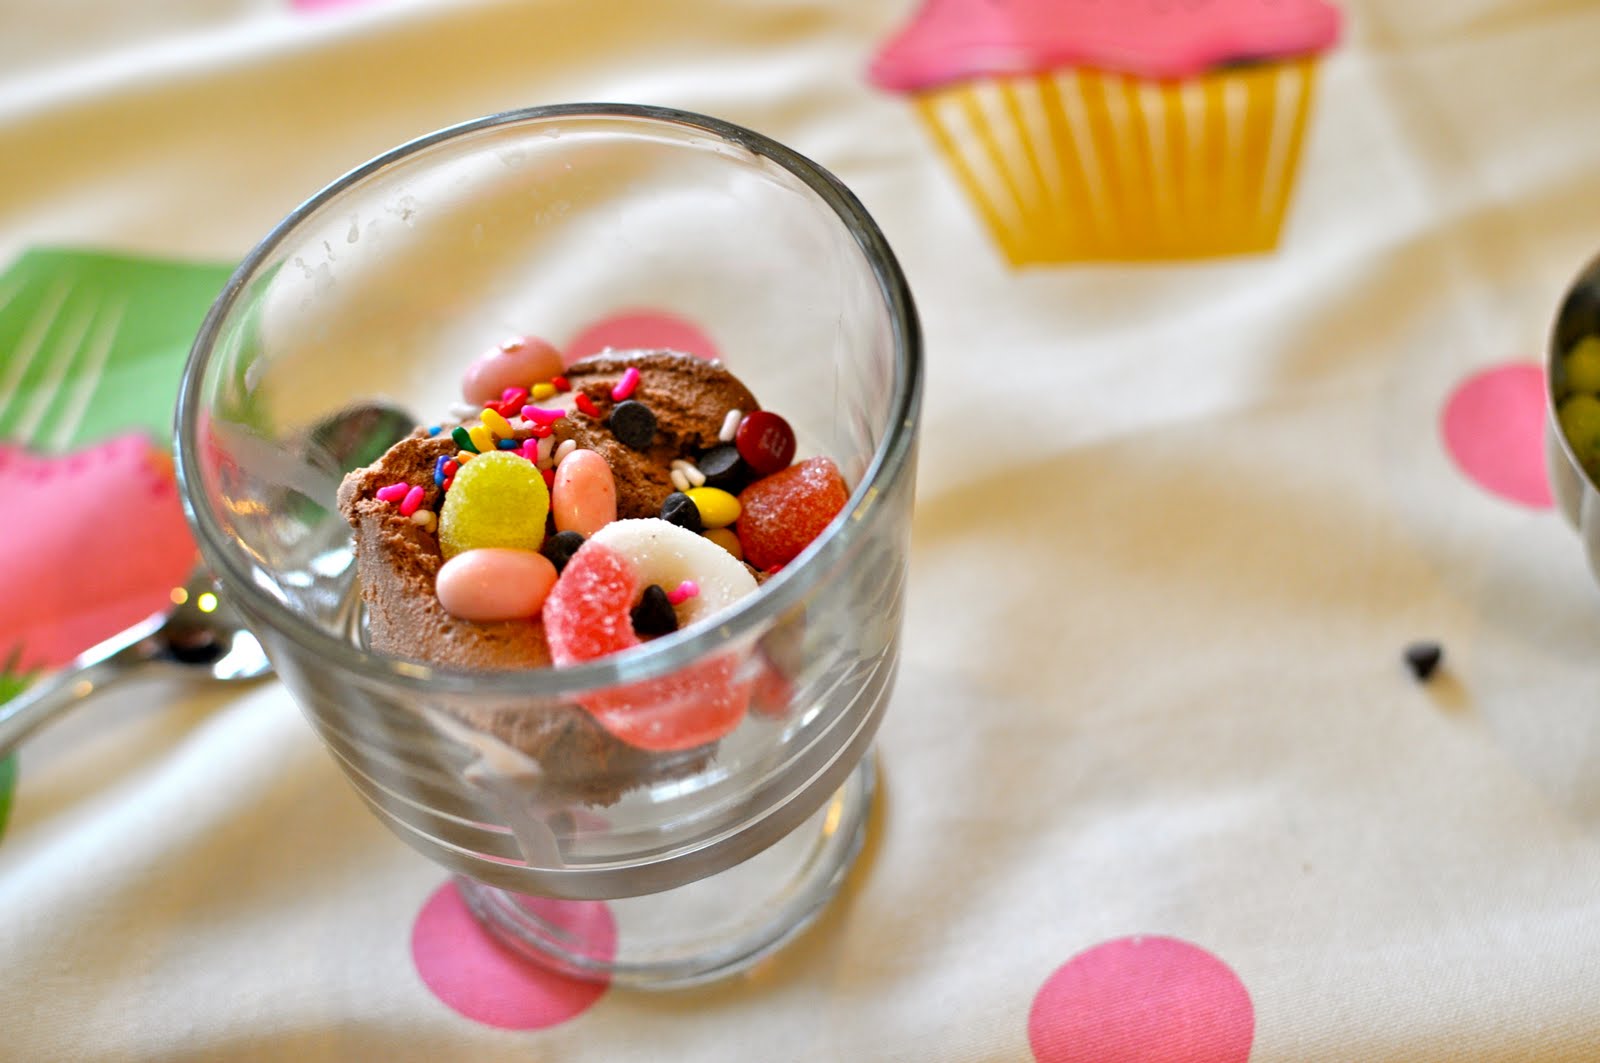
And what's an ice-cream party without an ice-cream bar?  Lots of yummy toppings for the girls to choose from.  They were all nice and sugared up by the time they went home!


Our first activity was to make bracelets.  The girls got to string their own beads and then we tied them up for them with colorful ribbons.  They were a big hit!


Then we played Ice-Cream Freeze.  I turned on some fun music and they danced until the music stopped, and then they struck an elaborate "freeze" position.  It was fun, and a good way to get out the wiggles!


Lastly, I let them decorate their bowls of ice-cream and eat cake.  One word of advice: go for vanilla ice-cream.  I don't know why I chose chocolate, but I had to scrub the stains out of my table cloth for 4 washings--and they're still not completely gone!  Any tips???


It was a super fun and easy party!  Everyone had fun and we left the decorations up all week!

Hope you enjoyed the party!!!

Friday, September 2, 2011

It's Friday, Let's Party! Shaun the Sheep!

Hi! I'm Kodie and I have a little blog called Cheepmomma where I share my sewing, decorating and entertaining ideas, along with my latest thrift and vintage store scores. I also tend to sneak in pictures of my kiddos, Haven and Maelie and their Cheepdaddy (my hot hubs, Adam).


I also manage to sneak in the occasional gratuitous pic of my Boston Terriers, Frank and Lucy. :) But today, I'm sharing some pictures from my daughter Maelie's second birthday party.
For my kids' birthday parties, I always try to personalize them as much as possible. I think it will help me (and them!) remember what they are interested in during that year of their life. Over the last couple of years, we have had a turtle party, an elephant party and a dinosaur party. All were very memorable (and not very girly, come to think of it!) indeed! Maelie's obsession as of late has been Shaun the Sheep. If you are not familiar, Shaun the Sheep is a spin off from Wallace & Gromit, the ever popular and oh-so-adorable British claymation duo.
Isn't he cute?!? Who couldn't love those skinny little legs? Well, Maelie was obviously quite smitten with him and since her 2nd birthday was fast approaching, I decided that the only option was to throw a Shaun party. The problem? I couldn't find ANYTHING Shaun related in the US. I even live a mere 30 minutes away from a British import shop that is the biggest seller of Shaun related items in the US, but when I contacted them, I learned that there had recently been a halt on their ability to get Shaun items from the UK. (Insert much weeping and gnashing of teeth here!) So I decided to make everything for the party myself.
While my kiddos are young, I am trying to do small family parties at our house. My aim is to keep as much of it homemade and thrifty as I can, but still attempt to get a lot of bang for my buck. I always hand make my invitations - I just like the look of a cute little hand made invite on my fridge! And I spent quite a bit of time on these invitations...

I printed out an image of Shaun, traced around his little body parts and recreated them with cardstock. I started seeking out any sort of sheep related items for the party favors for Maelie's 5 cousins that were coming and ended up finding some cute little notebooks and pencils from Michael's dollar bins that had sheep on them.

I added little "Thank EWE for coming" tags...

I also threw together a really big paper birthday banner...

And made a bunch of these little guys to hang from the ceiling...

I just used Martha Stewart's tutorial on tissue pompoms and then cut out little Shaun legs and faces to tape on. They were a huge hit! In fact, she still has a couple hanging up in her bedroom!
And what's a party without a cake? I am not a cake decorator by any means (although I would LOVE to be!), so I called in some help from a friend who is (hi Lisa!). She totally nailed Shaun! I couldn't believe how perfectly she recreated him!
Isn't he adorable? Love him! Of course, Maelie wouldn't let anyone touch him! She was very concerned that he was going to be eaten! For the rest of the food, I served ice cream, cupcakes, whoopie pies, carrots and celery with dip, pita chips, pastel colored M&M's, pink lemonade and cherry limeade sodas.

We didn't have any games, but we did let the kids watch a Shaun the Sheep short. We were attempting to keep things pretty short and simple for this party because we were moving the next day. Oh, did I forget to mention that? :) It was a pretty chaotic time! But I'm so glad that I took the time to plan and throw a unique party for a really unique little girl. And in the end, I was able to find ONE Shaun the Sheep item on eBay! She was immediately in love! (And we have rarely been able to pry it from her hands since!)

She was in love with her "Baa"! She loved her party - she would get so excited when she would notice something else that looked like Shaun and it was so fun to see her excitement! I don't think her obsession with Shaun is diminishing, so we just might have to have another Shaun party next year! Thanks for reading and thanks to Auntie Lolo for letting me share my Shaun party ideas!

Related Posts Plugin for WordPress, Blogger...