Tuesday, March 27, 2012

Guest Post: Monogram Pillow Tutorial from The Winthrop Chronicles

Hi, I'm Sarah from The Winthrop Chronicles so happy to be here on Auntie Lolo's. I am in the process of changing my baby's nursery into a little girls room. So I am happy to share one of my projects for that room with all of you!
This is the first of two pillows I made, it is a monogram pillow. It was pretty easy and quick. 
To make:


first. I bought a pillow from Jo Ann's they were on sale so I stocked up. I got it for about $4. Also, you need some felt (just enough to cover the pillow) and the pom pom ribbon (enough to go around the outside).


second. Cut the back two panels, I like to make my pillows this way because it's super easy and you can just pull off the pillowcase when ever you want. Make sure that there is about 2 to 3 inches of overlay, meaning that they are 2 to 3 inches wider than you actually need, so that when the pillow is in it, you still don't see the pillow.


{this is what the back will look like done, you leave the middle seam un sewn so that you can take out the pillow if you need to}
third. Cut your front panel and your letter. I just free handed the letter and cut it out.


fourth. Using a top stitch, sew the letter on to the front panel.


fifth. To sew the pillow together and sew the pom pom ribbon on, pin the fabric right side to the right side, with the pom pom ribbon on the inside. You can kind of see in the picture below that the pom pom ribbon is inside the pillow and the pillow is inside out. Just sew it then flip it right side out and you're done!


Thanks guys! Stop by my blog some time and say hi! :)

Monday, March 26, 2012

Guest Post: Easter Button Art with Lacey!

Hi y’all! I am thrilled to be guest-hosting again for Auntie Lolo’s Crafts today. I am Lacey Camp, a life-long crafter, who has now become a blog and Pinterest addict! I have always been inspired by Lois’ button crafts here on Auntie Lolo Crafts! When trying to come up with a new tutorial for a button craft, I looked back at her Easter craft from last year, A Button Egg and Stuffed Bunnies. I can’t improve upon her button egg tutorial or craft and I’m not trying to. I’ve decided to do homage to the Queen of Button Crafts – Lois! When trying to come up with an idea, I was inspired by the felt bunnies she made last year to stand beside her Easter egg. I used the template from those bunnies – originating at Sandy’s Creations,  I reduced it on my copier, as seen by the dimensions in the template below.

Follow Me on Pinterest


I found all my supplies at JoAnn’s except for the frames. I always buy my frames at Hobby Lobby. While you can sew your project onto any kind of fabric, I prefer using embossed felt which can be found at all the craft stores right along with regular felt sheets. Most of the buttons for my bunny came from my Grandmother’s old buttons. As a matter of fact, her covered coat button is in the middle of the bottom of the bunny’s body. I remember Grandmother wearing that coat! That memory alone makes this bunny extra special to me! I would really urge you to use all different shades of brown for your bunny in order for it to have a good dimension. You’ll notice that I even have some light tan buttons with dark brown edges on them as well. The chocolate browns to the light tans are what will give your bunny a life of its own. 


I wanted my bunny to fit into a 5x7 frame because I had already done a button egg to stand alongside it in another 5x7 frame. Since I had already made my egg, I used it to figure out the scale of the bunny.


I then placed my bunny template onto my embossed felt and, using my disappearing ink marker, I traced the template. Next, I glued down my first row of buttons. I have tried hot glue and about burned my fingers off (plus it left too much on the button and made it hard to sew through the holes later on). After experimenting, I have found that E6000 glue works much better for me. I squirt out a glob onto a paper plate then use a toothpick to glue a TINY bit to the button - just enough on the edge to hold it down so that I can sew through it later. The E6000 is not instant but it’s very fast and I prefer it. I don’t normally put bows onto my button crafts but I decided this chocolate bunny needed to have one around its neck. Since I wanted it to literally tie around its neck, I actually placed the bow before I glued the buttons so that I would wind up with the look that I was going for.


Once you have your primary row of buttons and the shape that you desire, there is no reason to glue anymore. I just start filling in the holes until I am happy with the finished product. I sew my buttons on with a 3-strand ply of embroidery floss. I usually use contrasting colors so that the thread will show. I decided to just stick with a chocolate for this bunny. I also decided that, since I wanted these two 5x7s as a grouping, I needed to “marry” them so I sewed a matching bow to the front of my egg. What do you think?


Here is my St. Patrick’s Day shamrock. I had some trouble with the felt wrinkling so I went back to Lois’ button egg tutorial and used her method to stretch my felt and hold it better. This is the only button craft I have done so far that required that step. I had no problem stretching the others. The embossed felt has a nice weight of its own and, until this shamrock, has been able to bear the weight of the buttons.

I struggled with my shamrock shape until my daughter, Emily, showed me the way she had done hers. She literally shaped three small hearts with her hands then added the stem! Emily and I have done all of our button crafts together and have had a great time experimenting with different shapes and sizes. Even though we do them together, they never look the same. That’s one of the many things I love about crafting!

How many shamrock buttons can you find below? You should see six of them.


Finally, here is my Valentine’s Day heart. I used three different colors of embroidery floss to sew on these buttons as I used pink to red buttons and felt I needed the different contrasting threads on them. I also decided to put one silver heart button off-center to the right, just for a nice bit of drama. Emily did her heart in pink, red and white then she framed it in white. Hers had a totally different look. Mine looks a bit Victorian in the glossy black frame. Emily’s looked far sweeter in a modern white frame. You can see all of our crafts together on my Pinterest board!


Thanks for reading today! If you loved it, please pin it! Should you have any questions or comments, please leave them here and I will respond through Auntie Lolo. I will be guest-hosting on Auntie Lolo’s Crafts again this month and hope you will join me then as well.

Follow Me on Pinterest

Thursday, March 22, 2012

Guest Post: A Behind the Scenes Look at Auntie Lolo Crafts

Everybody’s heard the old saying, “Behind every good man, there’s a great woman.”  Well there’s also a slightly less well known saying that goes, “A woman needs a man like a fish needs a bicycle.” If you ask me I think the second is more fitting when it comes to Auntie Lolo.  Truthfully this woman doesn’t need much support but when my wife called for guest posts I have to admit I secretly wanted to be picked.  Part of it is because it’s a creative outlet for me to write.  Another part wanted to let you all in on a behind the scenes look at the Auntie Lolo Craft world. 

When I met Auntie Lolo all those many years ago she had one hobby that I was made immediately aware of – she was a scrapbook-a-holic.  Naturally I did what every guy does when trying to impress a woman . . . I tried scrapbooking.  (There I said it and it feels good!!!!)  I failed miserably.  I found her best friend and enlisted her help to save my futile attempt at a present for my then girlfriend.  It was then that I learned the real talent it takes to be crafty and creative and to take an everyday object and turn it into something presentable.  I would later make one more attempt at scrapbooking and take some of the honeymoon photos from our trip to Vegas and turn them into a memory.  Let’s just leave it at you can tell which pages I did and which ones Auntie Lolo has done. 
Occasionally I’m called in as a consultant but let’s be honest . . . . it’s more out of pity than actual necessity.  While we were dating she had a class where she had to put a vistor’s guide together for a foreign country.  She chose where I served my mission for the LDS Church – Nicaragua.  What did I do to help?  I got to draw the little girl (Maria) who was to be the reader’s guide.  It was cute and crafty, and it got her an “A”.  Let’s look at another case in point:  Last Christmas our nieces and nephews asked for stuffed owls that my wife sews out of felt.  The picture on the left is her rendition; the one on the right is mine!


As you can see hers is much better.  Mine was a feeble attempt at snow camouflage for our 12 year old nephew so his didn’t seem so girly.  Not my best work.  About the only positive thing I contribute to the Auntie Lolo Craft world is paint.  That’s right . . . . paint.  Since I work for Glidden we have an abundance of paint at our house – in all sheens and shades of every color imaginable.  So all the cool colors you see of painted projects – that’s all me!!!! 
So for what it’s worth I will say this.  When I first met Auntie Lolo she wasn’t a mega-superstar crafter.  She wasn’t even a crafter – in fact the only thing she did was scrapbook.  But to be her support during this journey and watch her evolve and has been an unique adventure.  I’ve seen her transform from a grain of sand into a crafting pearl.  She’s the epitome of what it means to develop one’s talents – take nothing and turn it into something.  Heck, I’ve even learned some things.  Since being married to Auntie Lolo I’ve learned to sew, cut fabric, and even use the Cricut machine – although I still need a guiding hand like a two year old learning to color for the first time.  But it’s an adventure nonetheless.  So for all the husbands and significant others of theses crafters, I salute you fellow bicycles for fish.  Your job is important.  Even if all you do is supply the paint. 

Wednesday, March 21, 2012

Guest Post: How to Make an Ironing Board Cover

Hi, I'm Cynthia from Dream Quilt Create.


Today, I will show you how I made a beautiful ironing board cover.  I got the idea from "I Have to Say".  

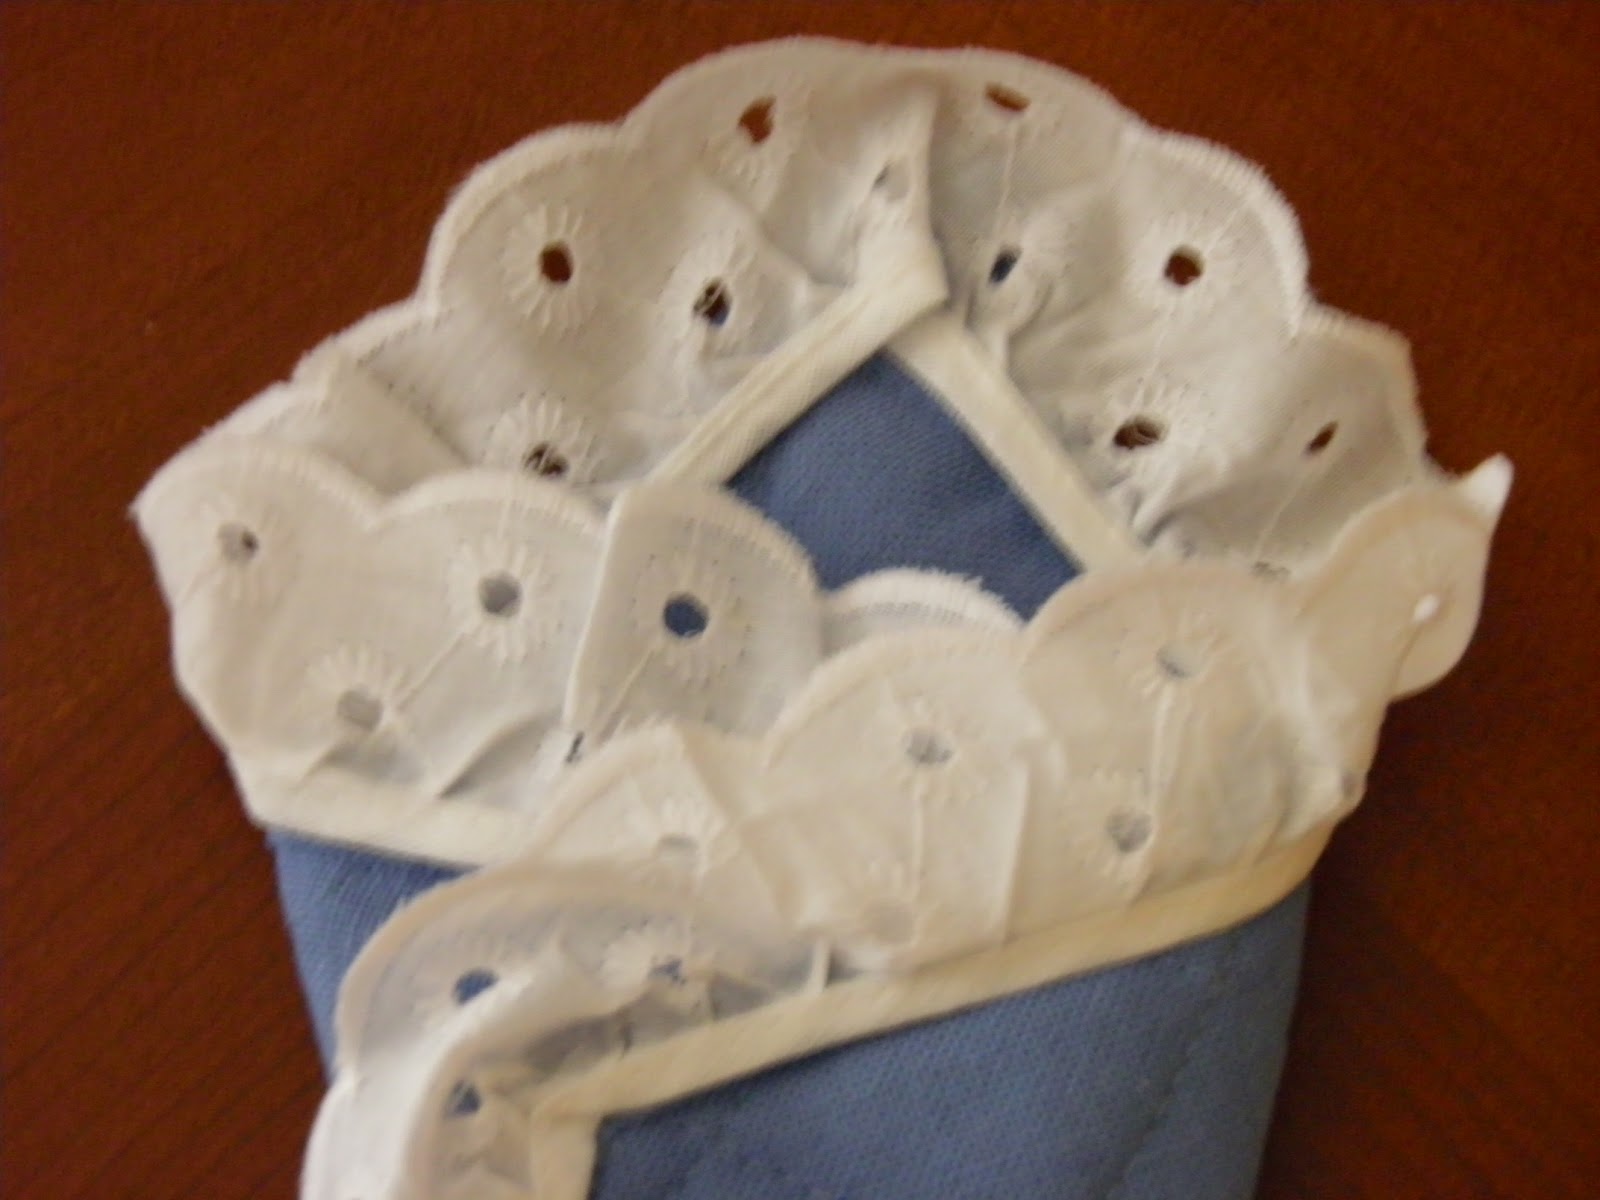
This is my lovely ironing board cover.  All my covers get these nasty brown stains.  I think it is from using spray starch.  Does that happen to you?


I went to JoAnn's and bought three pieces of Denyse Schmidt fabric.  My ironing board measures 18" wide by 48 l/2" long.  I bought 5/8 yard (22.5") of the first fabric (goes on the pointy end), 1/4 yard (9") of the middle fabric and 1 yard of the third fabric (goes on the end).  I also bought 4 l/3 yards of 7/32" cording which is found in the upholstery section.
Measure your ironing board and do the calculations. I used a l/2" seam allowance and 4" extra all around the ironing board.  It is always better to have a little bit extra than not enough.
Here are my three fabrics sewn together.  The selvages are on the sides, I sewed the cut edges together.


I laid the sewn piece of fabric on the floor, right side down. Then I put the ironing board on top of the fabric and traced 4" all the way around with a blue pencil.  It doesn't have to be extremely accurate.


Then I cut all the way around on the blue dashed lines that I drew.


Guess what?  I have extra fabric for my stash!  


Measure l/2" all the way around and press.


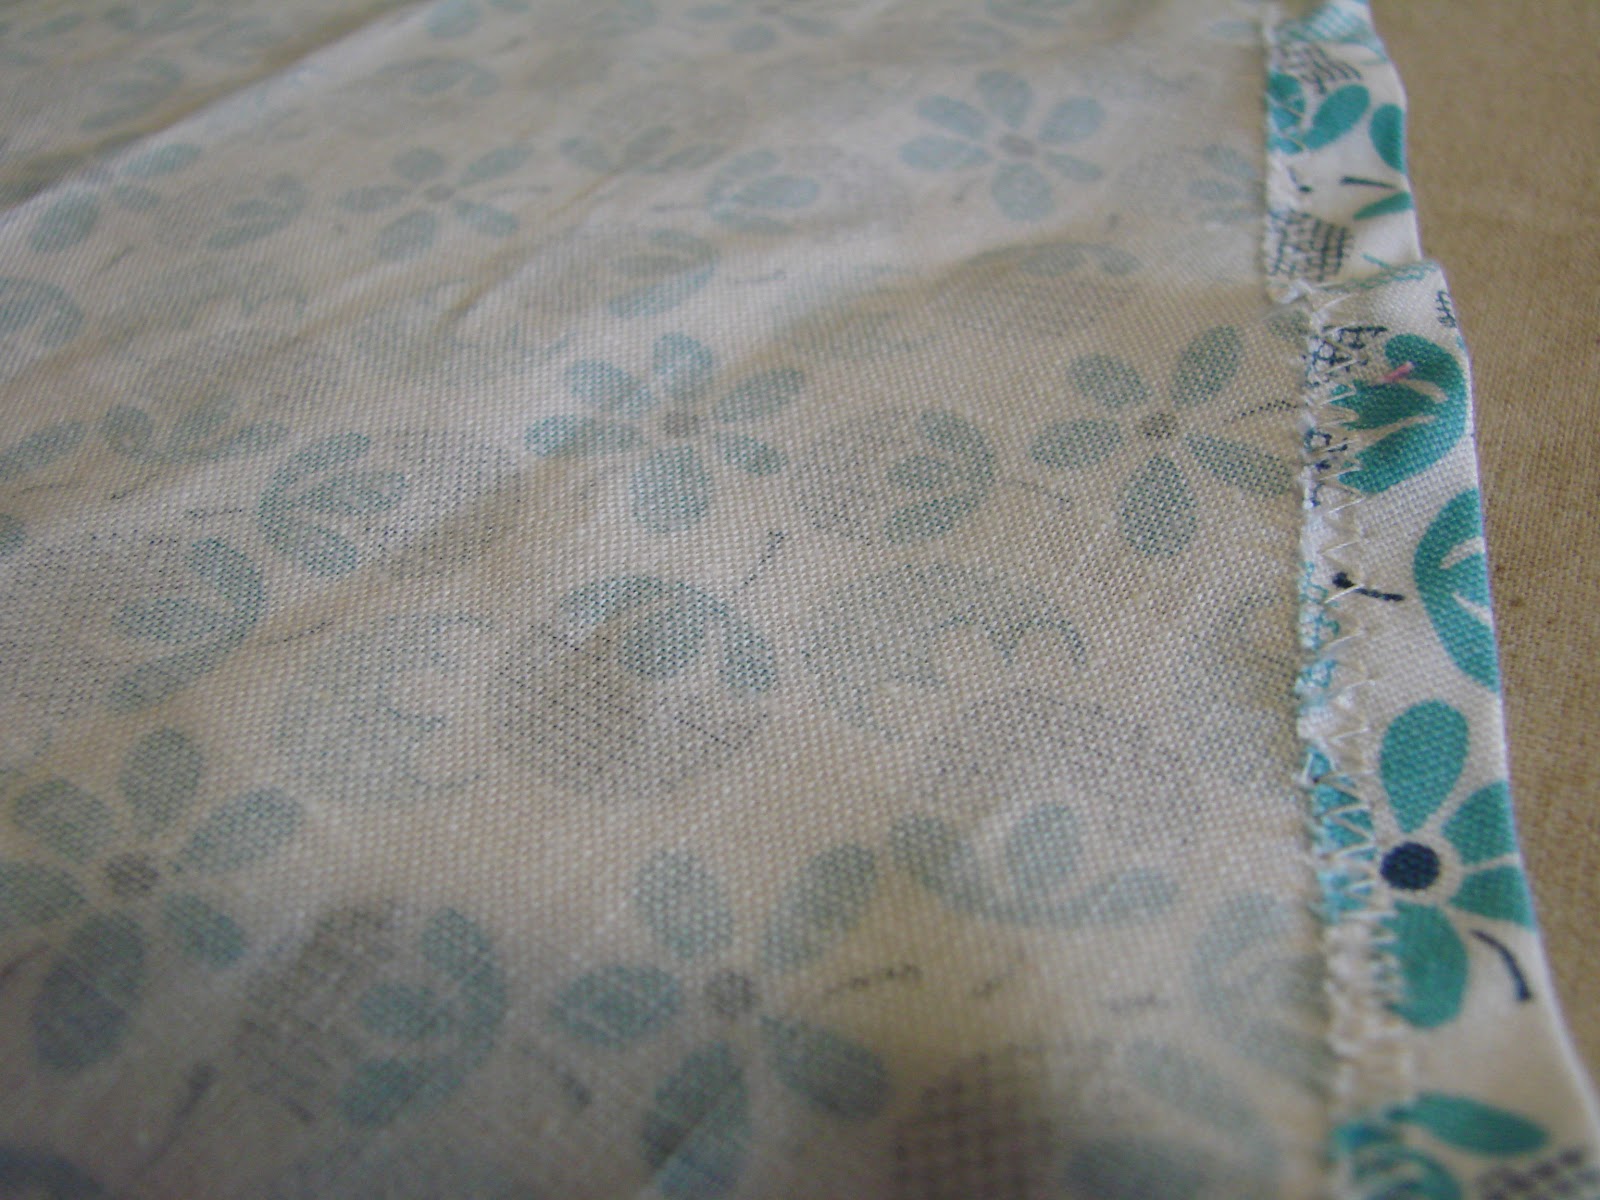
Zigzag close to the edge, all the way around.  Don't worry that there are crinkles around the curves.  This won't matter a bit.


Turn zigzagged seam under 3/4" and press all the way around.  There will be a few more crinkles this time, but the seam will be under the ironing board and won't show.


Stitch this seam all the way around with a straight stitch, close to the edge, leaving a 2" opening at the end (the square end) of your ironing board cover.  


I pinned a safety pin to the end of the cording.  Make sure your pin takes a good bite into the cording, or it might slip out when you are pulling it through the casing.  Push the safety pin through the 2" opening of your casing, at the end of the cover.  It will take a while, but carefully ease the safety pin with the cording, all the way around the ironing board cover.


Lay your ironing board cover on the floor, right side down.  Center the ironing board on top of it.  


Pull the cording sideways, easing the fullness around the ironing board.  Tie the cord and then tie a bow.  You can tuck the cording under the cover so that it doesn't hang down.


Now you have an awesome  redesigned ironing board cover.  This is the prettiest ironing board cover I have ever had!  It was so easy that I could even have a new cover for every season.  Not really, that sounds a little bit fussy to me........and with the prints, those nasty stains might not show up as much.  

This was a really easy project, easy enough for a beginner sewer :)


post signature

Tuesday, March 20, 2012

Guest Post: Scissor Holder

Hi y’all!  I am thrilled to be guest-hosting again for Auntie Lolo’s Crafts today.  I am Lacey Camp, a life-long crafter, who has now become a blog and Pinterest addict!  Today, we are going to make a scissors holder.  This is a great way to use up some of your scraps for embellishments!  I used to make these years and years ago when I had a craft booth and they sold very quickly!  I hope that you’ll enjoy making them as well.


Supplies:
glue gun
scissors
one potholder, loop MUST be in the corner of the potholder, not the middle
lace, multiply the sides of your potholder by 3 for the length (mine is 28”)
ribbon and/or buttons to embellish - I discovered my buttons at WalMart!


Basically, you can put anything you want on your potholder.  It’s totally your preference.  I am making this scissors holder for my future craft room (yes, I even have a board set up on Pinterest just for that room!).  http://pinterest.com/laceydcamp/  I am hoping to have my craft room done this summer!

Follow Me on
Pinterest

For instructions’ sake, please position your potholder as a diamond at all times, with the loop at the very top.  This is your hanging loop and will keep you in perspective during this tutorial.  Take your left corner and fold it straight across the potholder towards the middle (until the bottom corner is folded as well).  This is the inside of your scissors holder and it is the only place we will not embellish.  When you fold the right corner back over it, you will see the basic design.  It should look like an ice cream cone.  You can glue your potholder together now.  Please note that I am aware you can see my glue at the tip.  I tend to overdo adhesives but at least I don’t sniff them, right?  Anyway, it won’t show in just a minute, I promise.


To begin to embellish your scissors holder, turn your potholder over to the back side.  You will begin to glue on your lace at the bottom of the cone.  I wrap my lace around the bottom just a tad so I know it will stick. 

I like the eyelet on my potholder and didn’t mind the binding at the top to show; hence, I glued mine on top.  (If I hadn’t liked it, I would have glued it beneath the edge of the potholder.)  You should be able to use one length of lace to glue onto the entire front of the scissors holder.  You will start at the back and glue from the bottom of the diamond up to the first corner, making a nice turn there.  Don’t cut your lace, use it in one long piece.  You can easily maneuver it. 


Once you have finished attaching your lace to the right front of the cone, you will need to decide how you want to finish your scissors holder.  Do you want your lace to cover the top edge of the potholder?  I do because I don’t necessarily want everyone to realize it IS a potholder.  This also leaves your hanging loop behind your lace so it’s easy to access.  If that’s the look you want, you will have to jump your lace at the very edge of the cone then continue it again inside the lip of the cone down to the front left side, jumping it again to cover the last of the front of the cone.  You can tell in this photo that I glue on one side before jumping it to the next side.  Glue well so it will hold.  When you are finishing the front left of the cone, note that you have to fold your lace onto itself to twist it upwards at the front to match the other side. 


I felt my scissors holder still looked a little unfinished.  I tied a bow with three lengths of white ribbon and glued it on to the front center.  I then took my largest daisy button and glued it on top of the knot of the bow.  Daisies are my favorite flower so I decided I needed a little bit more!  I strung three more buttons onto the end of the bow and knotted right below where I wanted them to hang.  What do you think?  I didn’t choose the daisy buttons so that the orange matches my good scissors but, hey, it looks like I did, doesn’t it?  Just saying……………..


Thanks for reading today!  If you loved it, please pin it!  Should you have any questions or comments, please leave them here and I will respond through Auntie Lolo.  I will be guest-hosting on Auntie Lolo’s Crafts again this month and hope you will join me then as well.

Click below to follow Lacey on Pinterest! 
Follow Me on
Pinterest

post signature

Related Posts Plugin for WordPress, Blogger...